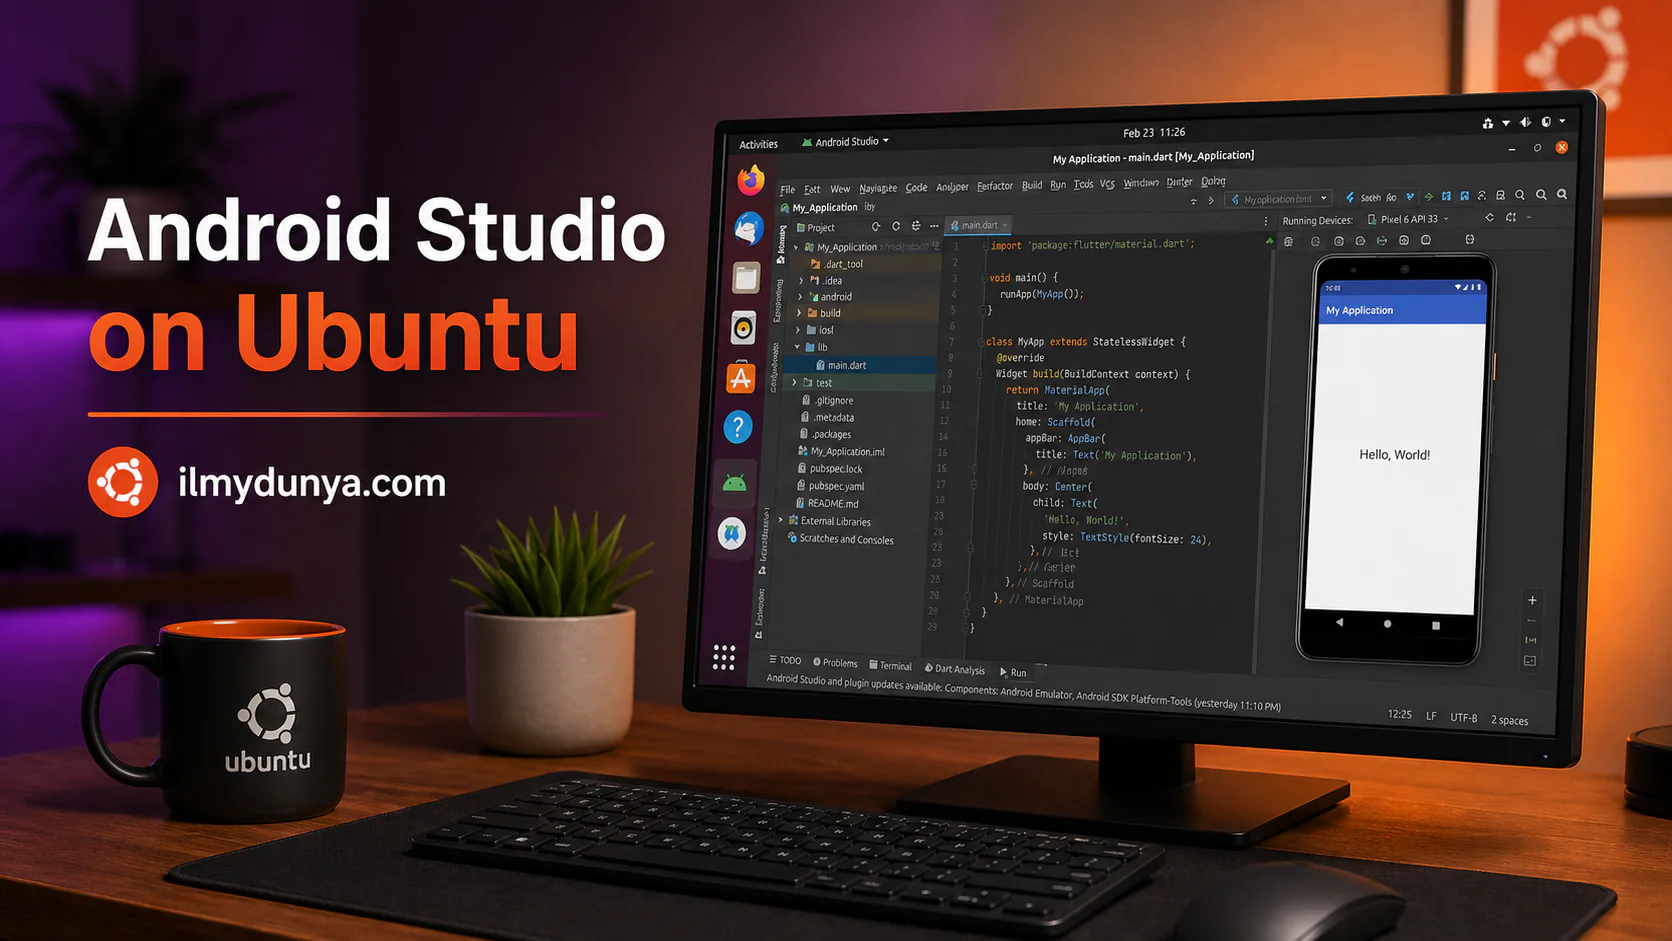
Are you trying to build an Android application with Linux and having no luck? Start with Android Studio, which can be found on the Ubuntu terminal in the open-source repositories.
When building applications for Android, the Android Studio IDE is required for building, testing, and debugging Android applications in an effective and integrated workspace to run required services and applications.
After reading this guide, you will know most things on how to install Android Studio on Ubuntu.
Ubuntu is commonly used among many Linux distributions for development. It is fast and easy to use. Since Android Studio is recommended for platforms with high utilization application, Ubuntu runs it well when the system has the right amount of RAM, storage, and virtualization.
You have different options to install Android Studio on Ubuntu. For the easiest way, try an option called Snap. There’s also a way to install Android Studio manually using a package called Linux .tar.gz, also available from the Android Developers’ website. We will compare these options. One will be easier, but for the other, you will have more control.
In this tutorial, we will tackle both options. We will also examine all potential libraries from your system, Android SDK, emulators, Android Studio shortcuts, Android Studio environment variables, installation errors, and more. After working through this tutorial, you will have Android Studio on your Ubuntu OS.
What Is Android Studio?
Android Studio is the primary software used for app development on Android. Developers will have a smart code editor, Android SDK, emulators, Gradle, and also tools and support for Java and Kotlin. Plus, Android Studio supports design, editing, and layout options.
Developers can create apps for many Android-related technologies using Android Studio. And developers can test apps on Android’s Emulator using virtual devices.
Google’s Android Developers website recommends Android Studio and gives a complete guide for Ubuntu installation. (Android Developers)
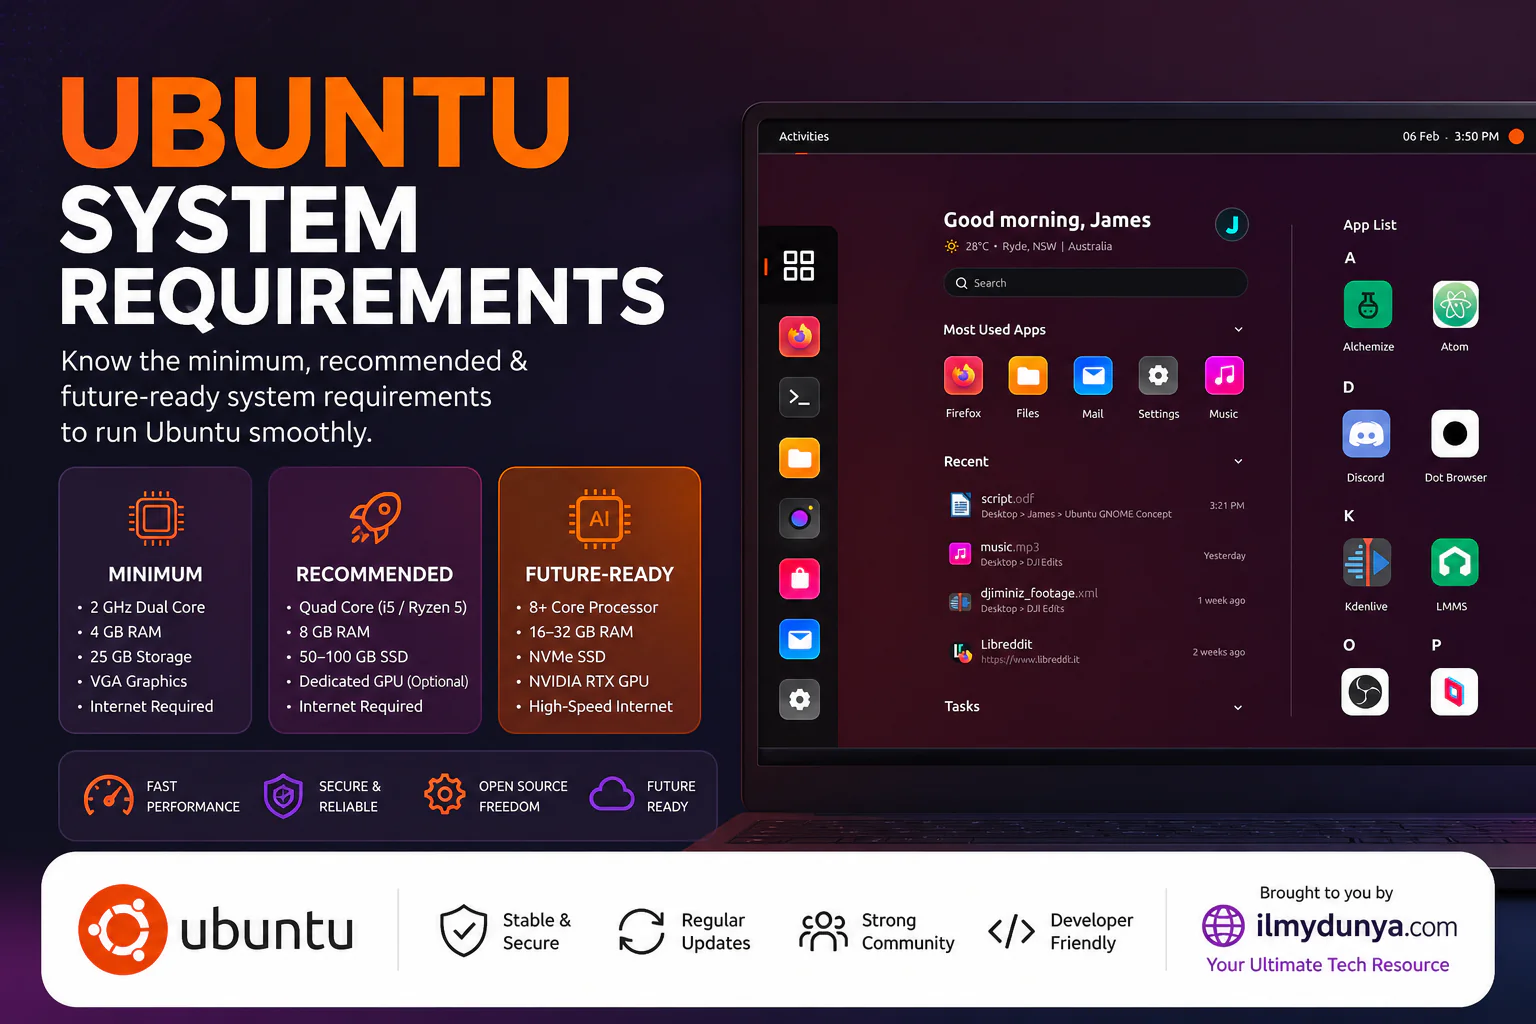
System Requirements for Android Studio on Ubuntu
You should check your system’s capability and see how to install Android Studio on Ubuntu.
The documentation on Android Studio’s installation notes that certain conditions for Linux compatible desktop distributions include using a 64-bit architecture and desktop environments of, but not limited to, GNOME, KDE, or Unity, and using GNU C Library 2.31 or later. The requirement for Android Studio is 8 GB (without the Emulator), and 16 GB is needed if the Emulator is used, while 32 GB is recommended by Google for enhanced experience. (Android Developers)
For Ubuntu, here’s a recommended configuration for Android development:
RAM: 16 GB or more
Storage: 20 GB or more
OS: Ubuntu 22.04 LTS or 24.04 LTS
CPU: Intel i5 / Ryzen 5 or better
Virtualization: VT-x or AMD-V
Internet: Required
Android Studio without the emulator does not take up too much space, but the space needed can increase by a large margin if Android SDK platforms, emulator images, Gradle, and project dependencies are installed. It is recommended to have an SSD and large amounts of empty disk space for untethered development.
Method 1: Installing Android on Ubuntu using Snap
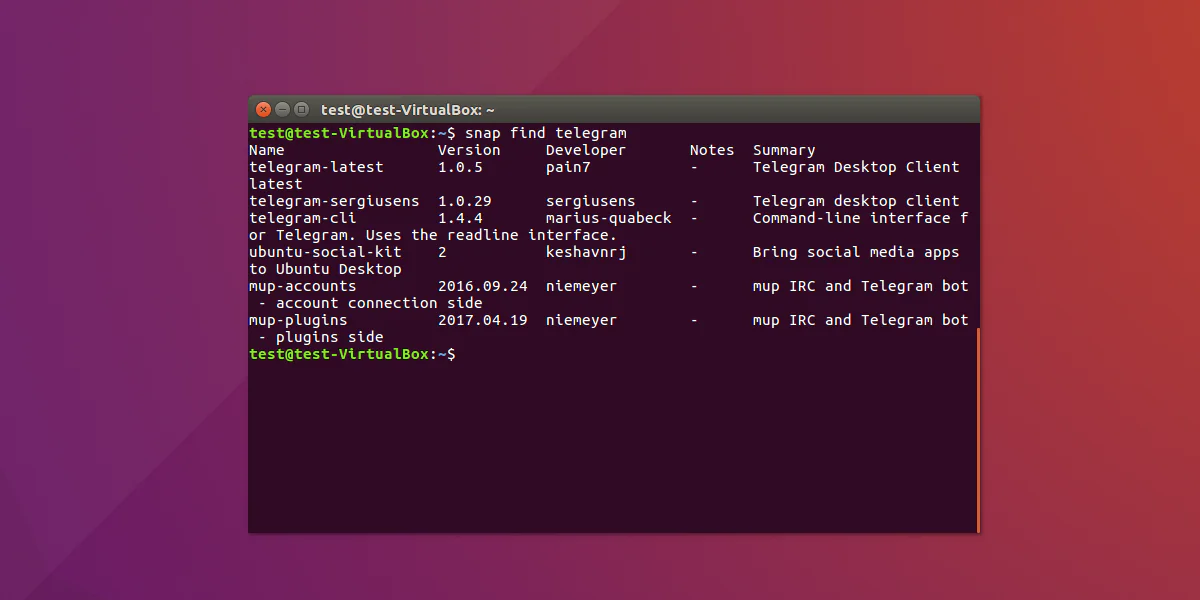
Of the several methods for installing Android Studio on Ubuntu, the simplest option is using Snap. Default Snap support enables installation of applications using a singe command.
To install Android Studio using Snap, use the code below in your terminal Applications > Terminal.
sudo snap install android-studio --classicAndroid Studio requires the –classic flag to access the file system more freely.
Once the installation via Snap is complete, you should see Android Studio in the Ubuntu app’s search. You can also run it from the command line with the following.
android-studioThe Android Studio installation command is listed as sudo snap install android-studio –classic in the Snap store, but the Snap library also mentions that this snap is supplied by the Snapcrafters community. This means the Snap library and Snapcrafters community didn’t create it, but instead, they built it on the Android Studio installation system. (Snapcraft)
Pros of the Snap Method
The Snap library builds Android Studio Snap via command line, simplifying the installation of Android Studio. You don’t need to download, extract, and copy files to system directories.
Cons of the Snap Method
There can be a considerable time difference in when Android Studio updates the snap and when Android Studio updates their installation on their website. Some developers want the flexibility of installation locations and update choices.
Method 2: Manual installation of Android Studio on Ubuntu
The second approach developers can use is downloading the android studio from the Android Studio website.
The official Linux instructions tell you to move the downloaded .tar.gz file into a directory like /usr/local/ for your user profile or /opt/ for all users. (Android Developers)
Step 1: Update Ubuntu Packages
You should always update your system packages before downloading others. This is how to update system packages to help avoid dependency issues:
sudo apt updatesudo apt upgradeStep 2: Install Required Libraries
The official documentation suggests Ubuntu users (running 64-bit versions) should run this command: (Android Developers)
sudo apt-get install libc6:i386 libncurses5:i386 libstdc++6:i386 lib32z1 libbz2-1.0:i386
This command adds the 32-bit libraries necessary for Android SDK tools to run on Ubuntu. These libraries also help Android Studio run on Ubuntu.
Step 3: Download Android Studio for Linux
The official Android Studio page has a lot of useful downloads, including the Linux version. After downloading, the file ends up in your Downloads folder and should look something like this:
android-studio-2025.1.1-linux.tar.gzThe file name and last number should be the same, but the first 3 parts will change after each Android Studio update.
Step 4: Extract the Downloaded File
Open the terminal and go to your Downloads folder.
cd ~/DownloadsNow extract the downloaded file:
tar -xzf android-studio-*-linux.tar.gzAfter extraction, you should see a folder named:
android-studioStep 5: Move Android Studio to /opt
The /opt directory is associated with installing optional third-party applications on Linux. For moving Android Studio to /opt, run:
sudo mv android-studio /opt/Now Android Studio is present at:
/opt/android-studioThis is a clean and formal installation folder, especially when the system is utilized by a number of users.
Step 6: Launch Android Studio
To launch Android Studio, run:
/opt/android-studio/bin/studioIn case the installation script is named studio.sh, then run:
/opt/android-studio/bin/studio.shFor the first launch, Android Studio may ask, ‘Do you want to import settings from your previous version?’ If it is a clean installation, then select:
Do not import settings
And, then go on with the setup wizard.
Complete Android Studio Setup Wizard
Upon launching Android Studio for the first time, the setup wizard assists you in completing the remaining installation steps. The Android Studio setup wizard retrieves the Android SDK components necessary for development. ((Android Developers))
You will generally see options for the installation wizard to include:
- Standard Installation
- Custom Installation
- Theme Selection
- SDK Components
- Emulator Setup
- License Agreement
If you’re just starting out, the Standard installation is generally the best option.
Only select Custom installation if you want to choose an SDK location, emulator images, theming, or which Android API versions to install.
When the wizard completes, Android Studio is ready to use.
Create a Linux Desktop Entry for Android Studio
For manual installations of Android Studio, you may want a desktop launcher to open it from the Ubuntu application.
When Android Studio is open, go to:
Tools > Create Desktop Entry
To include Android Studio in the application list is mentioned as one of the ways in the official Android Studio Linux installation guide. (Android Developers)
After you create it, search the app list in Ubuntu for Android Studio.
Path Variable for Android Studio on Ubuntu
By default this option is not recommended, as you can open Android Studio inside of your terminal by adding the bin directory of Android Studio to your PATH, you can do this by:
echo 'export PATH=$PATH:/opt/android-studio/bin' >> ~/.bashrcsource ~/.bashrcAndroid Studio can now be run from anywhere in the terminal by typing:
studioOr, if you named the launcher script something else:
studio.shAndroid SDK installed on Ubuntu
When SDKs install inside of Android Studio, the SDK gets placed inside of your home directory in the path listed as:
~/Android/SdkTo either find or change the SDK directory, go to inside of Android Studio:
File > Settings > Languages & Frameworks > Android SDK
You can now install the SDK platforms, SDK tools, android API versions, build tools, emulator tools, and platform tools.
When developing your Android applications from the command-line, you may also want to add the Android SDK tools to your environment variables:
echo ‘export ANDROID_HOME=$HOME/Android/Sdk’ >> ~/.bashrc
echo ‘export PATH=$PATH:$ANDROID_HOME/emulator’ >> ~/.bashrc
echo ‘export PATH=$PATH:$ANDROID_HOME/platform-tools’ >> ~/.bashrc
source ~/.bashrc
To see if ADB works, run the command:
adb versionAndroid Debug Bridge (ADB) is part of the Android SDK Platform Tools, which enable you to communicate with the device. If you see the version, your platform tools work correctly.
Install Android Emulator on Ubuntu
The Android Emulator allows you to run and test the application directly on your PC without the need for a physical phone. Create a virtual device by opening Android Studio and going to:
Tools > Device Manager > Create Device
Select a device from the provided list, such as Pixel, and then choose the system image. Android Studio will automatically download the required image. After that, select the finish option, and the virtual device will start.
To enhance the emulator, enable virtualization in the BIOS or UEFI. Android Studio Linux requirements say that if you have an Intel or AMD, then virtualization for CPUs needs to be added or enabled in BIOS to ensure the required virtualization support for the emulator. (Android Developers)
If your computer has less than 8 GB, then the emulator will run very slowly and may not be able to run complex apps. In that case, you should test your apps on a physical Android device.
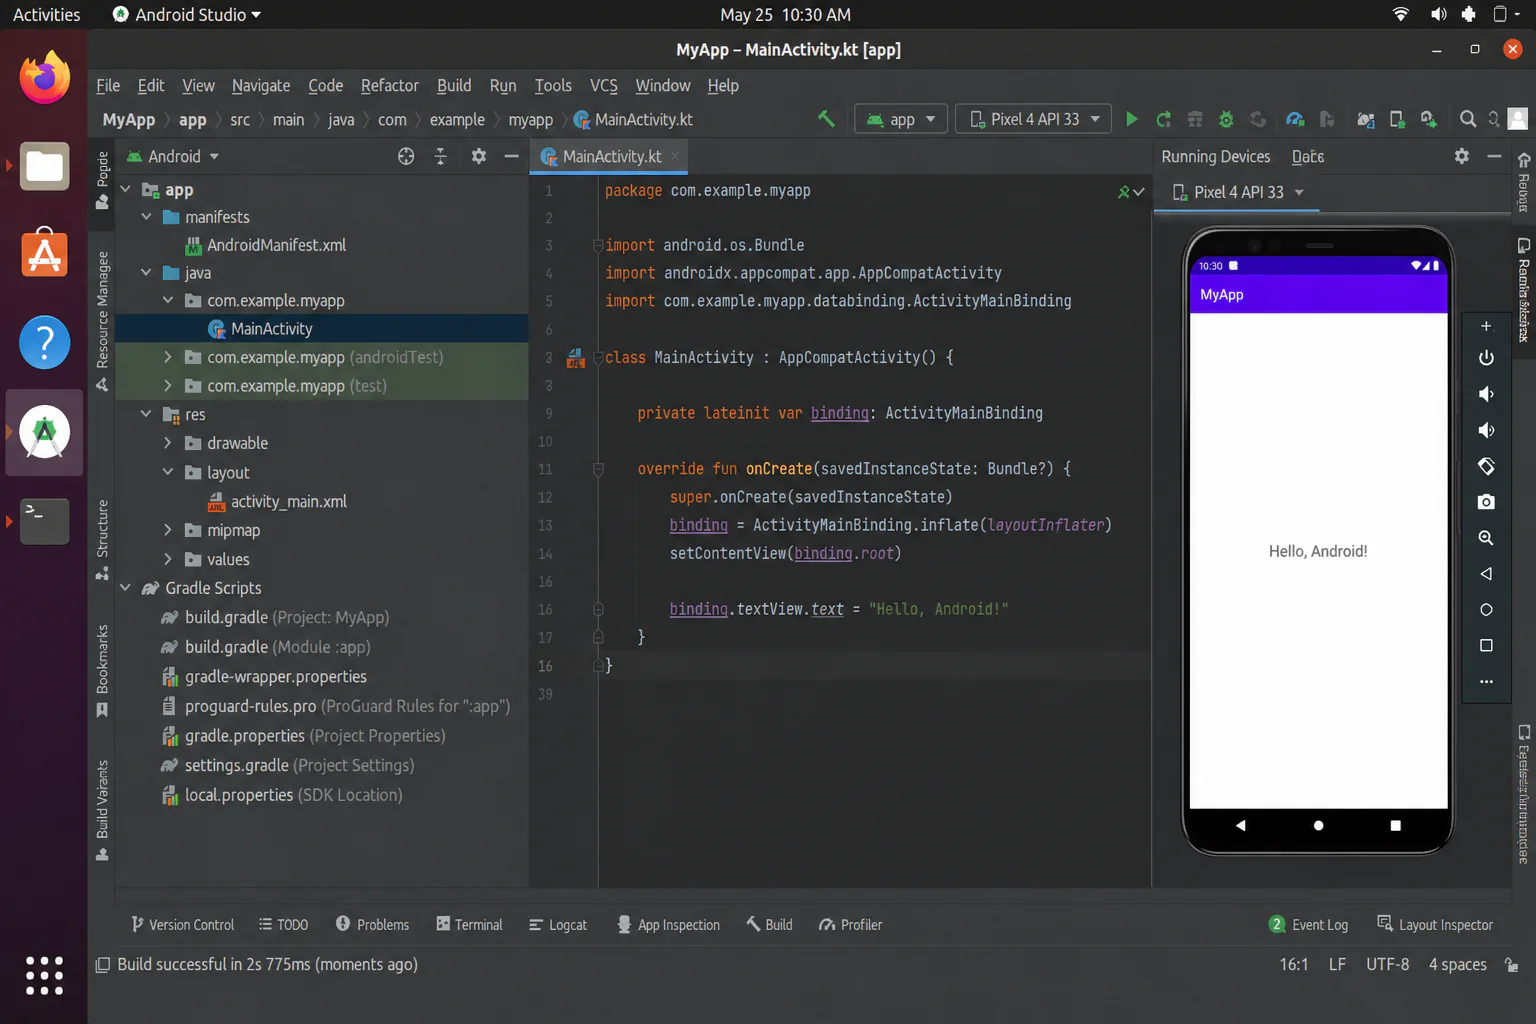
First Android Project
Now that Android Studio is installed, you can make your first project.
Open Android Studio and select:
New Project > Empty Activity
Then choose:
Language: Kotlin
Minimum SDK: API 23 or higher
After hitting Finish, you need to wait for Gradle to sync. It may take a while since Android Studio needs to download new dependencies.
After Gradle syncs, you can Run your app to see if it works by selecting an emulator or a connected Android phone.
If everything worked, then you successfully installed Android Studio on your Ubuntu system.
Connect a Physical Android Device
If you want to test apps on a real device, you will need to test it on your real Android phone.
You will need to enable Developer Options on your phone by:
Settings > About Phone > Tap Build Number 7 times
Continuing from Developer Options, enable:
USB Debugging
Plug your phone into your Ubuntu device and then run:
adb devicesA prompt will show up on your phone asking for permission, simply tap Allow. Afterwards, your phone will show up as a run target in Android Studio.
Frequently Seen Installation Errors for Android Studio on Ubuntu
1. Unable to Open Android Studio
The only way to know the error when Android Studio fails to launch is to collect the information from the terminal. Here is how you can launch Android Studio from the terminal.
/opt/android-studio/bin/studioThe common errors are problems due to missing dependencies. Use the following command to install missing libraries on Ubuntu.
sudo apt-get install libc6:i386 libncurses5:i386 libstdc++6:i386 lib32z1 libbz2-1.0:i3862. SDK Missing
You may see the warning about the missing SDK when you haven’t installed the SDK. In this case, you can do the following:
File > Settings > Languages & Frameworks > Android SDK
and install the missing SDK platform, SDK, and tools.
3. Emulator Slow
You can try to speed up the emulator by doing the following:
- Enable virtualization in the BIOS/UEFI.
- Close resource-hungry programs when Android Studio is running.
If your system is running on limited RAM, it is better to use the real Android phone instead of the Android emulator.
4. Gradle Sync Issues
You may run into issues when syncing Gradle due to the following reasons:
- Missing Gradle dependencies
- Proxy Settings
- No Internet
The only solution is to assure you have a working Internet, restart Android Studio, and Gradle Sync.
5. Errors in /opt
If Android Studio fails to install in the directory due to sustained permissions, it may be due to the ownership of the directory set to root. You can rectify the permissions or follow the preferable way of installing Android Studio in the home directory.
Example location:
~/apps/android-studioUpdate Android Studio on Ubuntu – Snap Version
To perform the manual update,
- Click on
Help > Check for Update
This is what the official documentation states concerning the notification of available APIs, tools in Android Studio and the update menu (accessible from Help).
Updates for Snap-installed Android Studio is just:
sudo snap refresh android-studioIf you manually installed Android Studio, the procedure involves downloading the latest Linux package from the official Android Studio page and replacing the older installation folder. Projects and the SDK are inclined to be placed in the home directory, and hence, changing the Android Studio folder does not delete the working projects.
Snap or Manual Android Studio Installation – What is Your Preference?
If your objective is to put Android Studio on Ubuntu as quickly as possible, Snap your option of choice.
sudo snap install android-studio –classic
This option is quick and easy.
If your preference is to have the more official Linux package, the choice of the manual installation method using a .tar.gz file from the Android Developers site is the option of choice. This method is more recommended for developers who take preference to more control and more organized installation.
If you are a beginner, Snap is bound to be your go-to choice. If you are a more experienced Android Studio developer, surely, the method is inclined to be your choice.
FAQs
The easiest method is using Snap:
sudo snap install android-studio –classic
You can also install Android Studio by manually downloading the Linux .tar.gz package from Android Studio’s website.
Android Studio is free to download and use to develop Android apps.
You can run Android Studio with 8 GB RAM, although 16 GB or more is recommended if you want to use the Android Emulator.
Almost all Android SDKs can be found in the following folder:
~/Android/Sdk
The performance of the Android Emulator could be caused by any of the following: no virtualization support, less than 4GB of RAM, or no dedicated graphics. Virtualization can be performed by Intel VT-x or AMD-V by going into your BIOS and changing the settings. You also need to have an SSD for better performance of the Android Emulator.
Using Snap is better for a beginner. Installing it manually will give you greater control of the configuration and the actual Linux packages.
Conclusion
This tutorial covers installation of Android Studio on Ubuntu using Snap & the official Linux package. Other instructions covered the installation of essential libraries, Android Studio setup, Android SDK setup & desktop entry creation. The guide covered setup of environment variables & the use of Android Studio with the emulator, a physical Android device, & Android Studio with the common installation problems.
Android Studio is the most vital IDE for Android app development. After a successful install & setup, diff environments for Android development in Kotlin/Java can be established. Starting with a basic Empty Activity, an app can be launched & iterated upon. The iterations can include integrations of UI & APIs, persistence frameworks, and Jetpack Compose form& Android development to Play Store publication.
If Android development is the target, Ubuntu on Android Studio is the ideal starting point.