
Windows Defender prevents most viruses in Windows 10. Most of the time, you should keep your virus protection on. That said, there are reasons why you should temporarily get rid of it. One example is to install certain trusted software.
This article will give you the most reliable and safe methods to disable virus protection in Windows 10. We will discuss Windows Defender and third-party antivirus software. You will find tips and tricks, FAQs, and safety precautions.
How Windows 10 Virus Protection Works
Before you get rid of Windows Virus protection, learn about how it works.
What is Windows Defender?
- Windows 10 comes with Windows Defender.
- This protection is supposed to block viruses, spyware, and malware.
- Windows Defender also manages your downloaded files and USB storage.
Why It Is Bad to Disable Virus Protection?
- The more you disable your protection, the more the viruses and malware will affect your system.
How to Disable Windows Defender Protection for a Short Time
For short tasks, you can learn how to disable Windows Defender.
Step 1 – Open Windows Security
- Press the Windows Key + I to bring you to Settings.
- Select Update & Security, and then Windows Security.
- Choose Virus & threat protection.
Step 2 – Manage Protection Settings
- Scroll to Virus & threat protection settings.
- Manage settings.
Step 3 – Disabling Real-Time Protection Easily
- All you have to do is tab real-time protection to off.
- Windows might give you a warning when you are trying to do this, you can dismiss it.
- Windows defender will automatically enable real-time protection after a brief time or when you reboot.
How to Permanently Disable Windows Defender (Advanced Users)
While it is true that there are a small number of cases where permanently disabling your antivirus is necessary, we do not recommend that; however, if you are an advanced user and you need to, then it is understandable.
Using Group Policy Editor
- Press Windows Key + R and then type gpedit.msc.
- Navigate to the Computer Configuration section. Within that section, you will find Administrative Templates which contains a Windows Components folder that has a Microsoft Defender Antivirus folder.
- That is the folder you will want to click on.
- From there, you will want to double Click on Turn off Microsoft Defender Antivirus and select the option for Enabled. Then, click Apply and OK to finalize your settings.
Using Windows Registry Editor
- Press Windows Key + R and then type regedit.
- Navigate to the HKEY_LOCAL_MACHINE\SOFTWARE\Policies\Microsoft\Windows Defender folder.
- Create a DWORD (32-bit) Value that you will call DisableAntiSpyware.
- Set the value to 1, then Restart your PC.
- If you choose to permanently disable your antivirus, you are exposing your computer to threats, but you need to understand the risks before proceeding.
- Creating this value in the Windows registry editor is a shortcut for permanently disabling Windows defender.
Warning: Permanently disabling antivirus makes your PC vulnerable. Only do this if you understand the risks.
Using Third-Party Antivirus Software
- From third party programs like Norton, Avast, McAfee, Kaspersky, and Bitdefender.
- Open an Antivirus Interface
Using Command Prompt (Advanced)
Advanced users have the option of disabling Windows Defender via Command Prompt.
Type the following into Command Prompt:
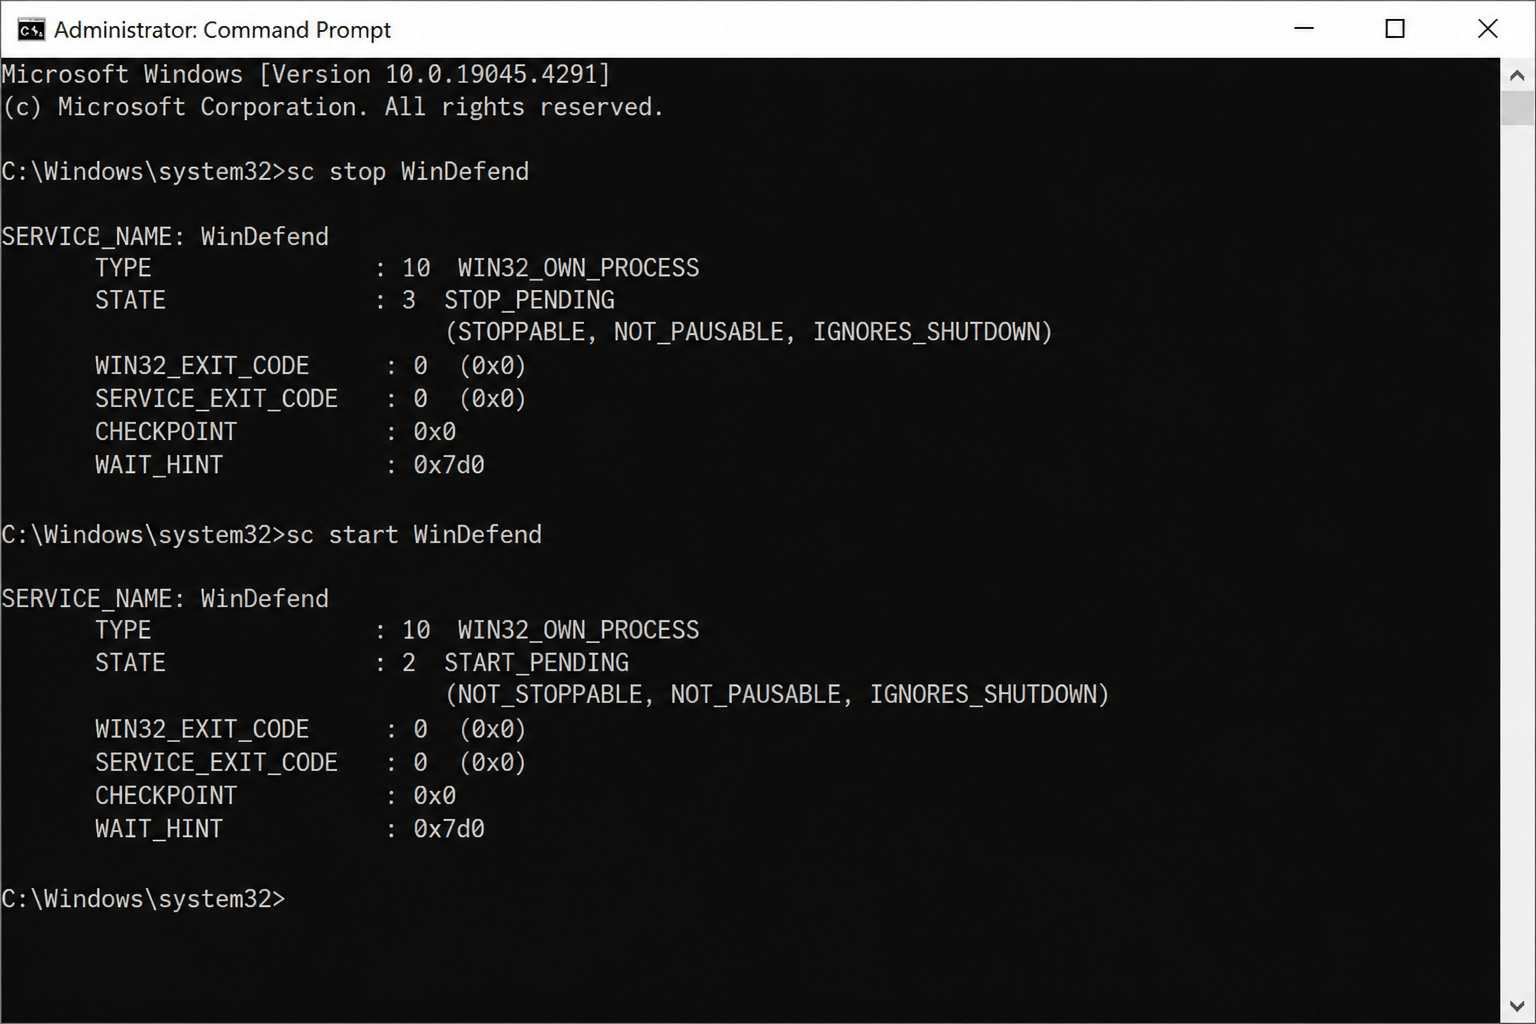
- Press Windows Key + X → Command Prompt (Admin)
- Then type:
sc stop WinDefend - Image Alt Text: “Windows Command Prompt”
- This will stop Windows Defender.
sc start WinDefendto resume the service.
Safety Tips When Disabling Virus Protection
- Only disable temporarily. Never leave antivirus off for long periods of time.
- Disconnect from the Internet. This eliminates the risk of online threats.
- Avoid opening unknown files. Only work with files that you can ensure are from trusted sources
- Keep Windows Firewall enabled. This provides an additional layer of protection.
- Re-enable the antivirus immediately to restore real time protection.
- Create a System Restore point before major changes so you can restore the previous settings if you need to.
Common Reasons for Disabling Antivirus
Installing Trusted Software
- If the antivirus is blocking the install of trusted software, then, temporarily disabling it will allow the install.
Running Specific Scripts or Tools
- Advanced scripts or developer tools may be obstructed by real time protection (of the antivirus).
Troubleshooting Issues with Windows
- Some of the system processes or updates may be obstructed by the antivirus.
Testing Third Party Apps
- There should be no obstruction of the antivirus protection while the developer is working.
Disable Virus Protection Windows 10: FAQs
Yes, this is possible, but not advisable. Use Group Policy or Registry Editor only if you understand the risks.
Only long enough to do the task at hand. Only a few minutes if possible.
No, updates will continue regardless.
Yes, you will need administrator access.
Yes, you can. But it must be a trusted application. Turn on the antivirus as soon as possible.
No, the Windows Firewall will still be working if it has not been disabled.
No, there is no risk, but be sure to re-enable after.
Conclusion
It can be essential to disable the virus protection on Windows 10 at certain times. It should only be done sparingly and removal should be immediately replaced with protection. Windows security settings can be altered to temporarily remove protection. Be sure to re-enable protection to keep your PC safe from threats.

