
Upgrading from Windows 7 to Windows 10 is an essential step, as Windows 7 has stopped receiving updates from Microsoft. This guide will help ensure your upgrade to the system is safe and operational.
Benefits From Windows 10
Before you can upgrade from Windows 7 to Windows 10, you have to understand why there are upgrades you need to have:
Cyber Safety: Windows 7 is unsupported and does not receive updates which makes it a target for malware and system attacks. Windows 10 provides constant updates to keep it safe.
Efficiency: Windows 10 is designed to be much more performing, which will allow the system to run smoother and more responsive as well as provide better and faster boot times.
Creative Tools: Windows 10 also provides a bunch of creative tools such as built in Cortana, the ability to use Direct X 12, and many more!
1. Find Out If You Can Do This Upgrade
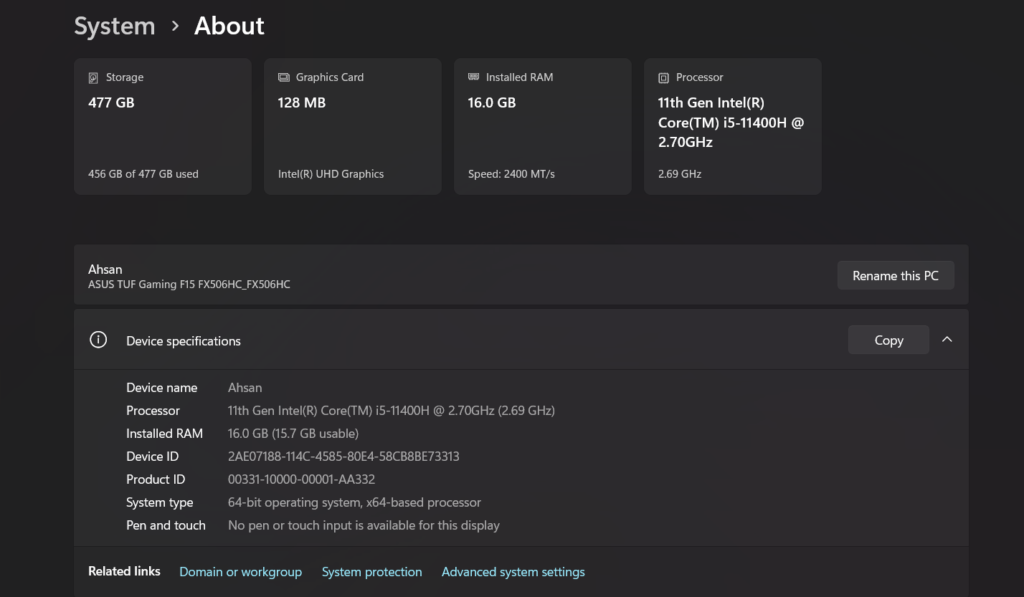
Before you can upgrade there are some system requirements you have to meet for Windows 10:
- Processor: 1 GHz processor or better.
- RAM: 1 GB for 32 bit and 2 GB for 64 bit is needed.
- Storage: If you have a 32 bit OS you will need 16 GB and for a 64 bit you will need 20 GB.
- Graphics: Direct X 9 or higher. WDDM 1.0 driver.
- Display: Minimum 800×600 display.
Your system meets the minimum requirements; you can continue.
Step 2: Making a Backup
Upgrading an OS can sometimes lead to the loss of critical data. Therefore it is crucial to create a backup of vital documents before proceeding.
- External Hard Drive: You can backup your documents to an external storage device.
- Cloud Backup: Your documents can also be backed up using a cloud service. Google Drive, One Drive, and Dropbox are great examples.
- Creating a System Image: You can create a system image to backup your existing system completely.
Step 3: Windows 10 Download
At this point, you are ready to download Windows 10.
- Access the official Microsoft Windows 10 Download Page.
- Click the Download Tool Now button to download the Media Creation Tool.
- After the tool is downloaded, open the tool.
Step 4: Media Creation Tool
After downloading the Media Creation Tool, run the tool by:
- Opening the Media Creation Tool: Find the tool in your Downloads folder and double-click it to run the tool.
- Accept the License Agreement: When the License Agreement window appears, select the checkbox and click the Accept button.
- Select the Upgrade Option: Choose “Upgrade this PC now” and click Next.
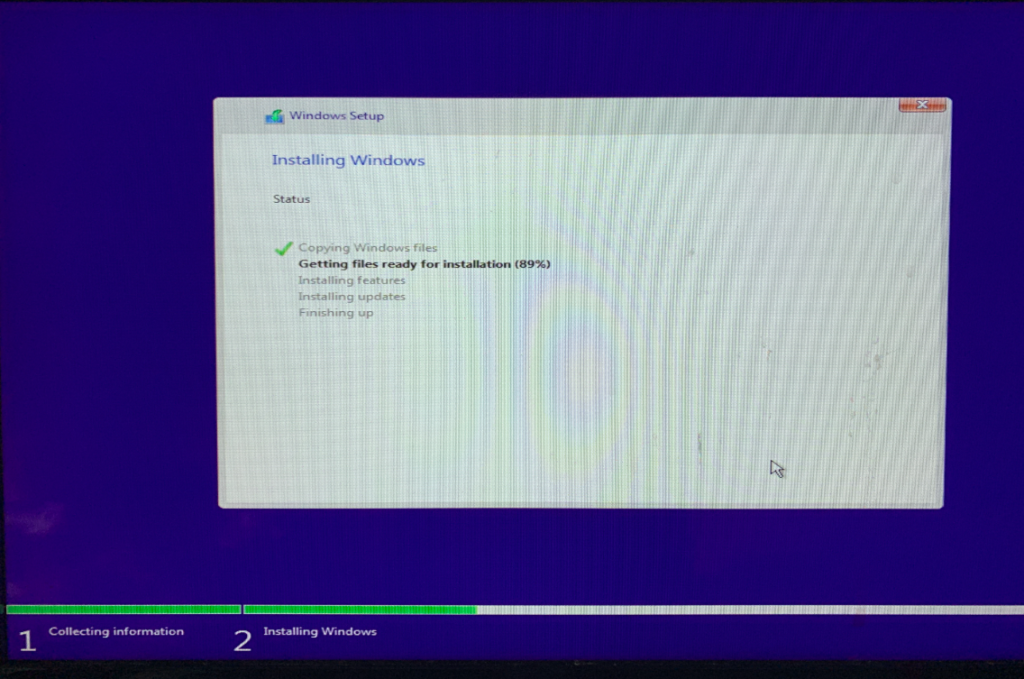
Step 5: Installing Windows 10
Before starting the Windows 10 installation, make sure you are plugged in (to avoid a shutting-down-update scenario) and have a reliable Wi-Fi connection.
- Windows Media Creation Tool will first check the requirements on your computer.
- If you are good to go, you will begin downloading Windows 10.
- Instructions will be provided to you on the screen. You’ll have to restart the computer a few times.
Step 6: Arranging Everything in Windows 10
When installation is complete, you will be taken through a series of basic settings indicating how you would like to set up Windows 10.
- Microsoft Sign in Account: You will be required to log in to a Microsoft account, if you still don’t have it, you will be prompted to create one.
- Windows 10 Privacy Settings: Windows 10 will request you to set up your privacy settings (meaning whether you would like to allow Microsoft to track your activity or not).
- Change Settings on your PC: To set your preferences, such as colours and background, Windows 10 will allow you to do that.
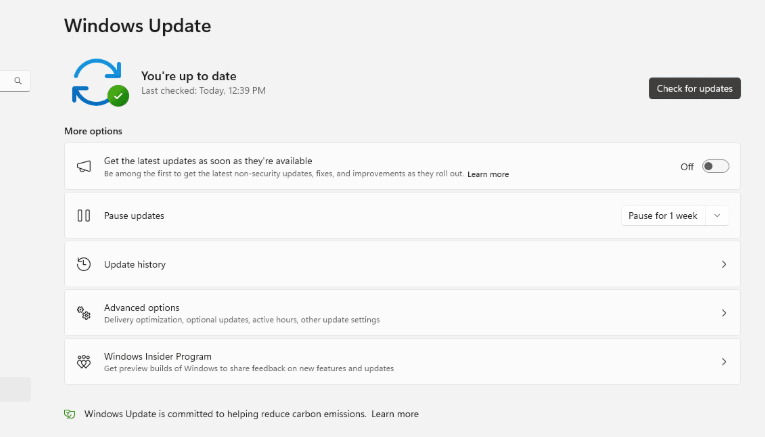
Step 7: Updating Drivers and Windows
Once Windows 10 is installed on your computer, you have to ensure that the drivers on your PC are up to date.
- Windows Update Go to Settings and select Update & Security. Click on Check for Updates to see if any updates have not yet been added. Windows 10 will look for updates and automatically start adding them—including drivers.
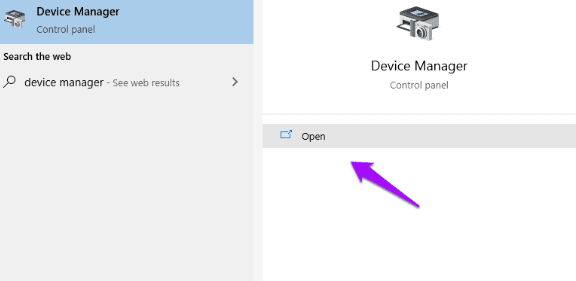
- Check Device Manager If some drivers are missing, you can check Device Manager to update them yourself.
- Third-party Drivers For things such as printers or special graphics cards, you need to go to the manufacturer’s site to get the most current drivers.
Step 8: Restore Your Data
Now, you can get your data back.
- Restore from Backup: Move your files back from your external storage or from a cloud service.
- Using File History If you have File History turned on, you can go to Settings > Update & Security > Backup and select Restore files from current backup to get your files back.
Troubleshooting Common Issues
There could be a lot of things that could go wrong after your update, and you might experience the following issues. Here’s a way to solve them:
- Slow Performance If your performance seems slow, try to do a disk cleanup or disable programs that are open when you start your device.
- Missing Drivers Drivers can be added with Device Manager or the manufacturer’s site.
- Compatibility Issues If one of your applications does not seem to work, you can try to run it in compatibility mode by right clicking on the app and then clicking on Properties > Compatibility.
Step 9: Relish Windows 10
Congratulations! You get to discover all newer features, such as the modernized Start menu, better security, and more beneficial performance.
Conclusion
In just a few simple steps, look good for the modernization of your system as well as the protection, efficiency, and overall performance. Just ensure to back your data and download the updates.